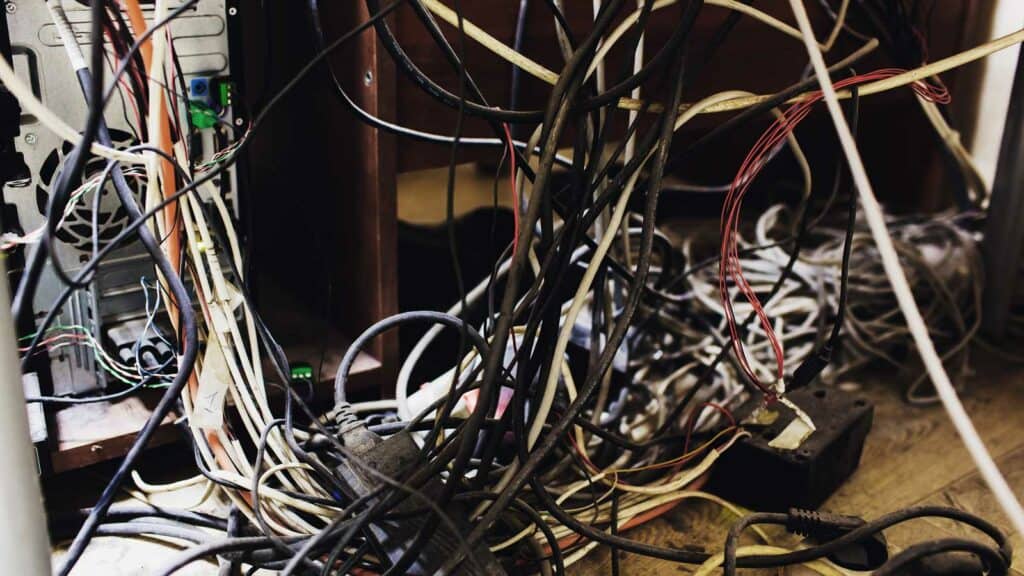
Anyone who works from home eventually reaches a point where we ask, “How do i organize my cords under my desk?” If you’re like me, you have a mess of cables in your office that are constantly getting tangled up.
I’ve learned a thing or two about getting organized and how to clean up the cable mess and want to share with you some quick and easy-to-implement solutions on how you can manage your cords, get them cleaned up and neat and implement your own cable management system.
The good news is that it’s not difficult to get your cords under control. With a just a little bit of time and effort along with the proper tools, you can take control of your unruly cords and transform your home office and desk space into something clean, neat, and organized.
Quick cable management steps:
- Get all your cords unplugged
- Label everything at both ends
- Mount everything you can using velcro or command strips
- Gather and bundle cords together with zip ties or binder clips
- Group cords together with cable sleeves
- Loop long cords for easy management with no tangles
Some day hopefully we’ll be able to charge, power and connect all our electronic devices wirelessly. But until that happens we have to have a way of dealing with the chaos that comes from all those power cables and chargers.
Everyone has different needs and goals when it comes to organization.
Everyone has their own way of doing things.
You’re going to need a few things first, so let’s start there.
By the way – before we get into it, if you want to get more great ideas for your home office and connect with other home office hackers to make your space the best join my free private Facebook group, Home Office Hacks here.
Supplies you need for under desk cable management
So when it comes to cord management, what supplies are you going to need to manage your cords and cables before you get started?
- Cable zip ties
- Twist ties
- Velcro cable ties
- Cable management sleeves
- Binder clips
- Cable organizer clips
- Cable management box
- Under desk cable management tray
- Velcro mounting strips or Command strips
Regardless of what cable management ideas you have, these supplies are going to be essential for getting the job done right.
Next up, we’re going to talk about some cord management tips for home office setups to help you get organized.
Unplug all cords from everything on your home office desk
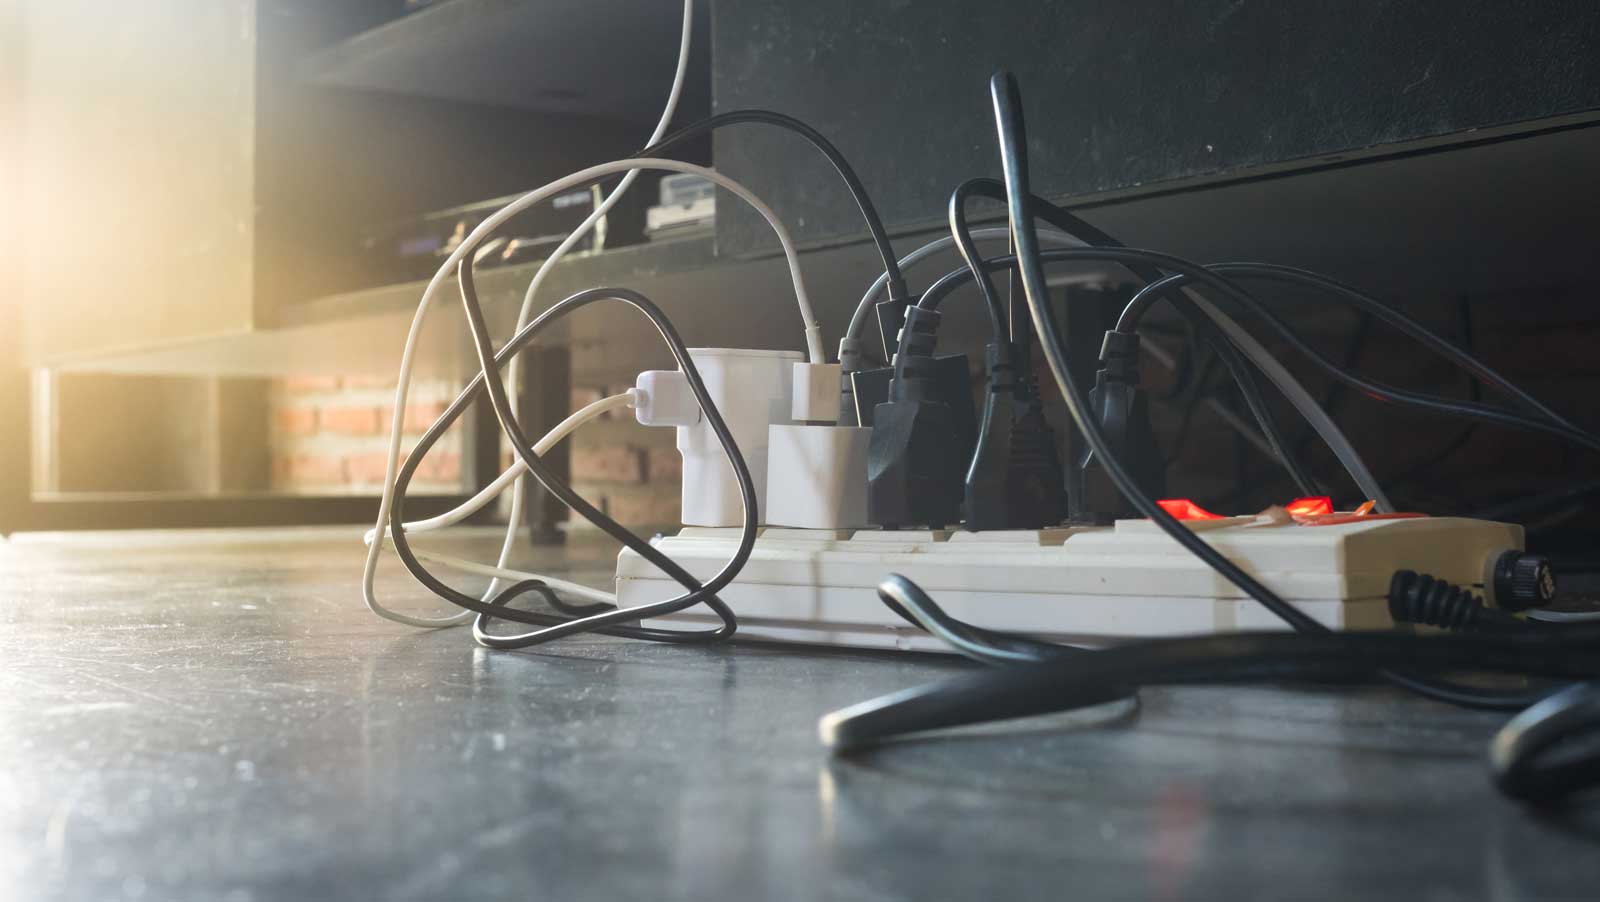
Before you can get started with the best desk cable management system for your situation you have to star by organizing your cords, which means you first have to unplug everything.
You simply can’t get a handle on your cords if they’re all still plugged in, so, make sure all of your electronics are powered off and get to unplugging everything.
If your modem and router are part of your home office setup, and it needs to be unplugged, you should warn everyone that the internet will be down while you’re working on your cord organization project.
After you have unplugged all the cords from around your desk, untangle and separate any cords that are wrapped together.
If you haven’t had proper cord management up to this point, your cords will DEFINITELY be tangled.
Pull them all apart so you can clearly see which cord goes to what item.
Proper cord management means labeling your cords
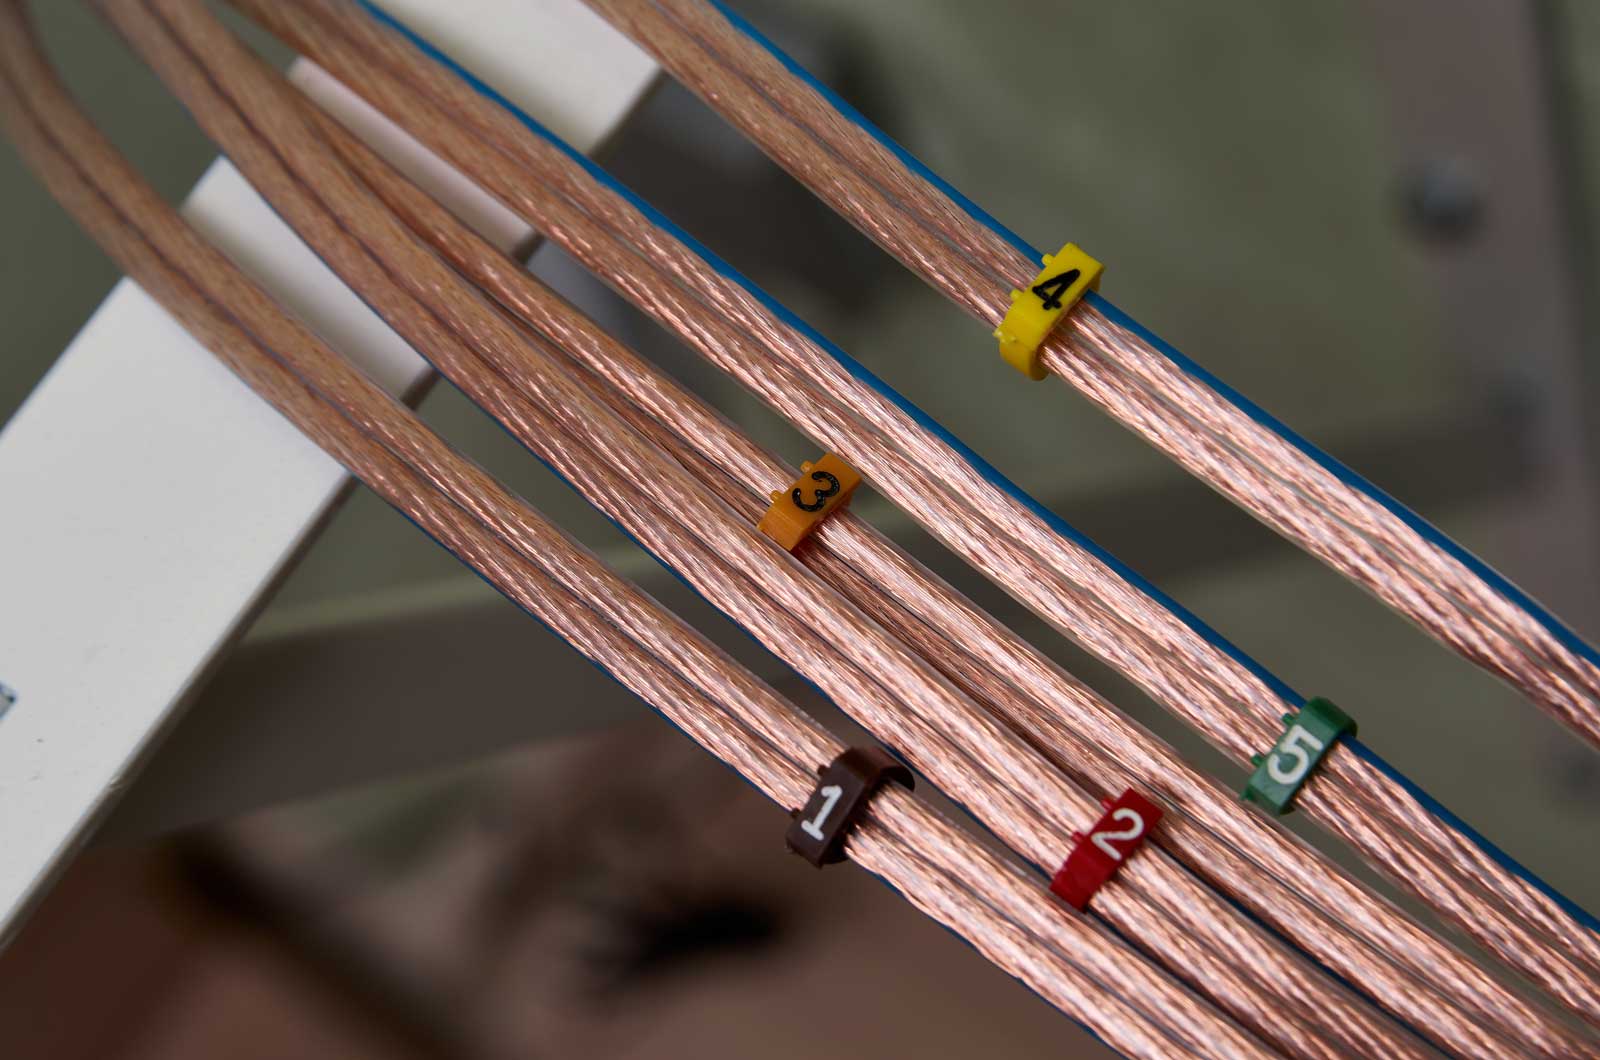
To save yourself from headaches down the road, label all of your cords while you have them unplugged. This will help you determine which cord is what once they are all plugged back in again.
Let’s face it, most cords look exactly the same. By using labels, you don’t have to guess which cord to unplug and inadvertently unplug the wrong one.
You can label your cords in a few different ways.
Buy cheap
Avery Multiuse Label (6738)
- Versatile in design, Avery removable labels are great ID labels for price tags, containers, drawers, shelves and more
- Uses a safe, removable adhesive that sticks firmly but removes cleanly from a variety of surfaces
Dot stickers at any office supply store and either leave them blank or write the first letter of each item. Simply attach the sticker to your cord, and, voila, it’s labeled.
You can also use masking tape or
Avery Multiuse Label (6738)
- Versatile in design, Avery removable labels are great ID labels for price tags, containers, drawers, shelves and more
- Uses a safe, removable adhesive that sticks firmly but removes cleanly from a variety of surfaces
Washi tape in fun colors if the dot system is a bit too boring for you.
- Take a piece of masking tape about an inch and a half to two inches long and wrap it around each cord.
- Bring the two ends of the tape together on each side so they stick together, creating a flag.
- Write the name of the item on the flag, and you will never have to guess again.
If you really want to get fancy, you can purchase special
Mini Skater 240 Labels
- Colorful – contains 8 colors, including red, orange, blue, purple, green, yellow, white, light blue; various color helps you to distinguish different cable
- Sticker Size – 3.3 x 1.1 inch; Sheet Size: A4 size (8.3 x 11.7 inch)
color-coded cord labels or plastic cord identifiers. These wrap around your cords and you are able to customize them by either writing the cord name on each label or using the supplied icons.
Keep your home office cables & cords together
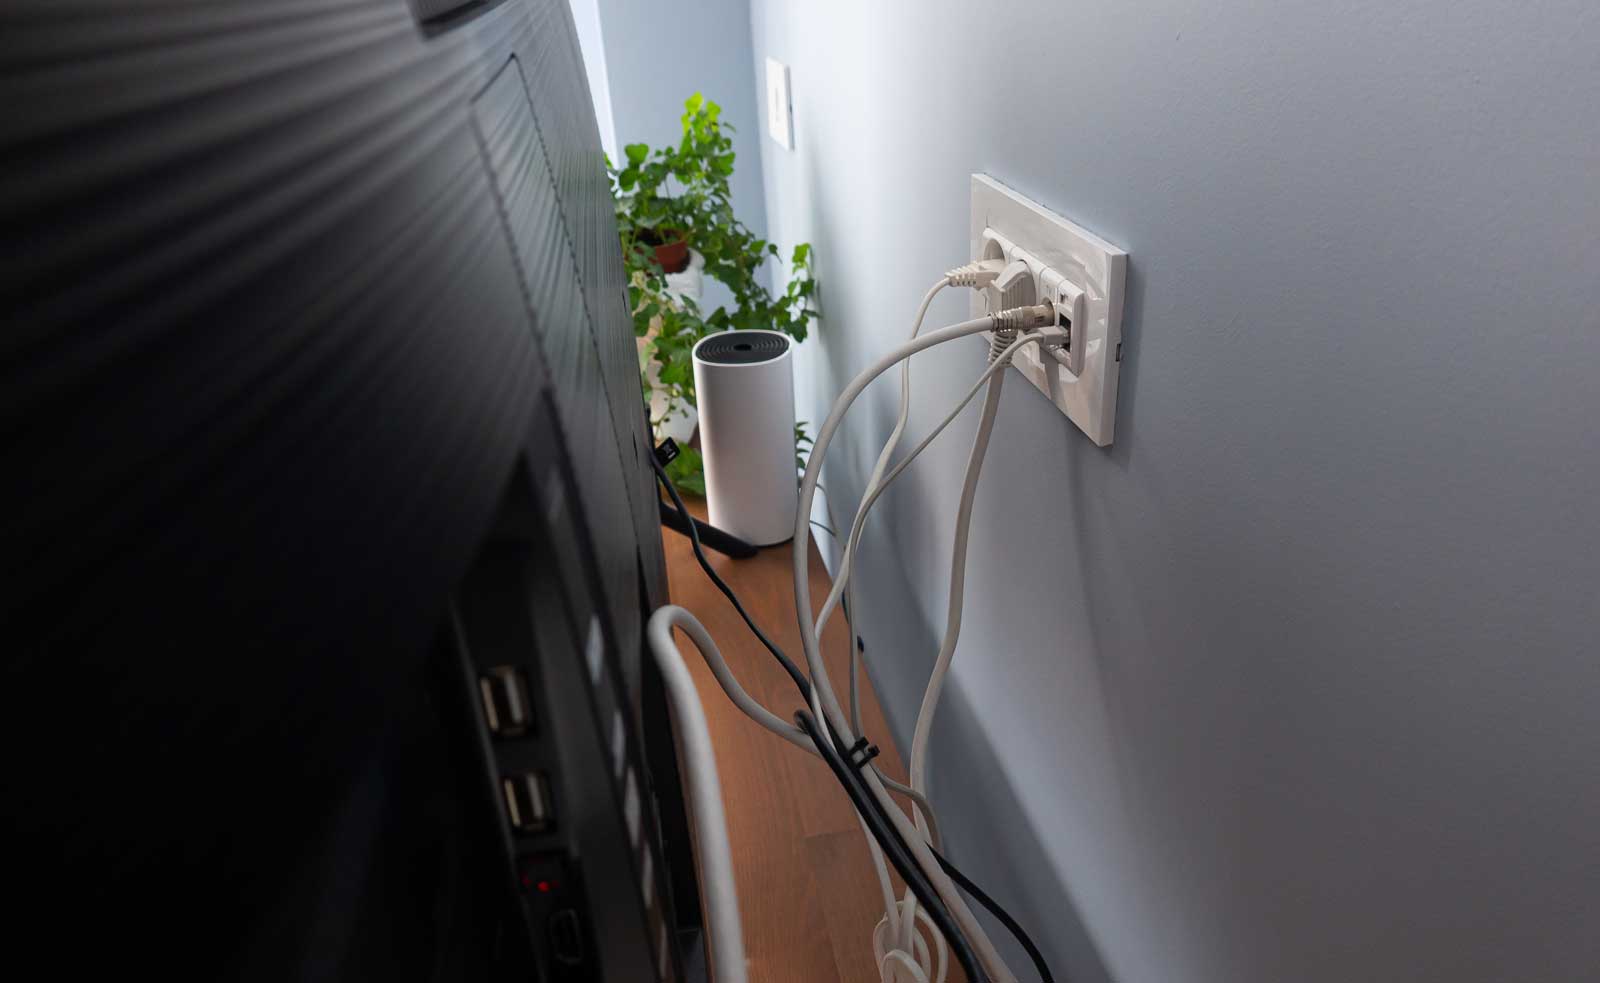
Disorganized cords can also cause bigger problems, though. If you have a small baby or a pet (looking at you, cats), they might find the dangling cords too enticing to resist.
This curiosity could quickly spell disaster.
Fortunately, there are tons of methods for keeping your cords right where they’re supposed to be. Options include:
- Shortening your cords by wrapping them together
- Feeding them through a cord management tray or box
- Locking them in place with cord clips or wall channels
Any of these methods will give you relief from the constant frustration of unmanaged cables every time you sit down at your desk.
Plus, they will keep your cords safe from damage and your family safe from injury.
Tightly wrap items for cord management
Now that your cords are successfully labeled, it’s time to bunch them up and wrap them. Unlike before when your cords would become tangled up unintentionally, you’ll be wrapping them together so that they’re organized and out of the way.
You’ll need to shorten your cords before you wrap them up, otherwise, you will have one long annoying bunch of cords laying across your floor instead of multiple separate annoying cords. There are a few ways you can shorten your cords:
Leave enough length free on each end so you can plug your cords back into the backs of your electronics as well as into the outlets. Beyond that, you don’t need any extra cord available.
You can use cable ties to keep your cords bunched nicely.
There’s no rule saying you have to use zip ties made specifically for cords. Any
100 Cable Zip 8 Inch Heavy Duty Ties
- Strength tensile is decided by Width– Our wire ties 0.14inch / 3.5mm wider make the ties stronger than the same size for more projects.
- Made of industrial strength nylon 6/6 fire resistant material, and can be used in temperatures ranges from 040F to +185F (440C to +85C), weather resistant and outdoor in direct sunlight application is not an issue.
household zip tie will do the job.
However, similarly to the color-coded cord labels above, you can find
Colored Cable Ties Straps
- CONTROL YOUR CABLES: Whether for your laptop cords, chargers, headphones or other cables, out 20 pack of cable ties will keep your cables neat and organized and out of your way.
- WIDE USAGE: Suitable for a variety of cables, our cable ties come in 3 different cable strap sizes: 10’’x0.8’’, 6’’x0.6’’ and 5’’x0.5’’.
colorful velcro to wrap your cords and make your home office a little brighter.
Use a Cord Management Tray
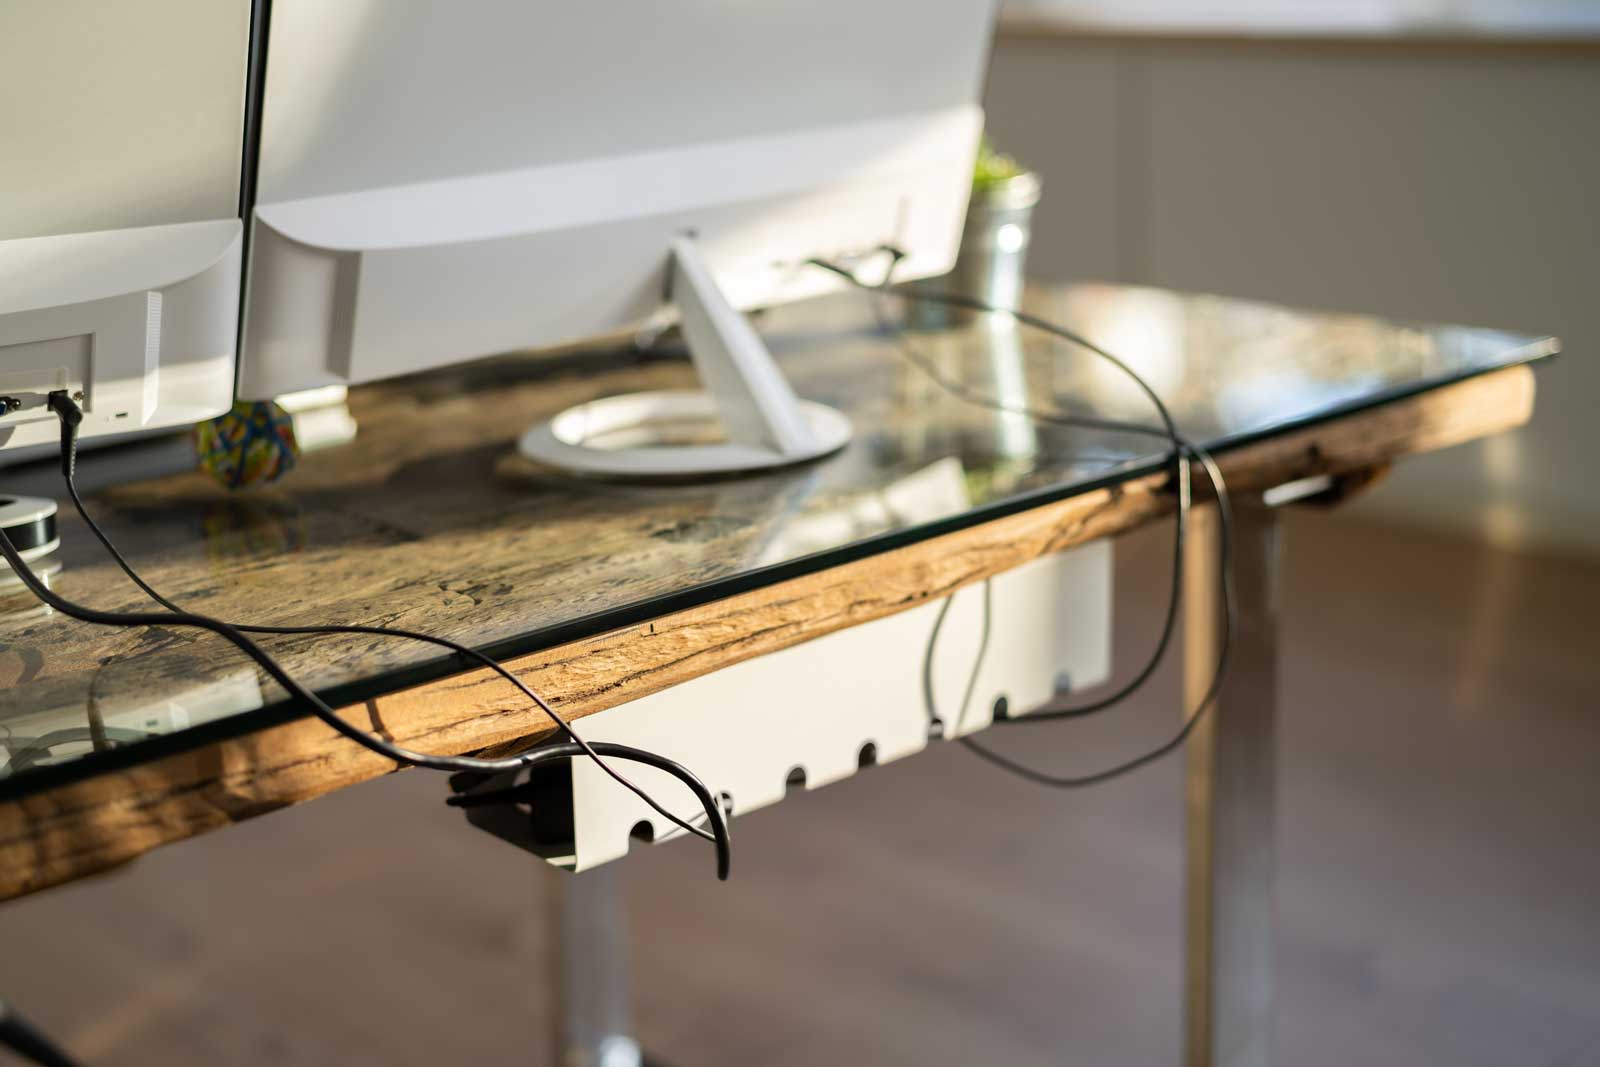
A bunch of cluttered cables on your desk can be a productivity sucking distraction. That’s why a cable holder of some kind is an ideal solution.
A cord management tray attaches to the underside of your desk and acts as a basket to hold your cords and power strip. This keeps them from dangling freely and becoming tangled up. The cable tray routes the cords to their destination without bunching up underneath your desk.
The good news is that most new desks have a desk cable management tray included so it makes cleaning up and organizing your desk a lot easier.
If wrapping your cords up neatly and evenly is too much of a hassle, you can use an under-the-desk cord management tray instead. Just feed your loose cords through the tray and into their outlets. In fact, you can combine the two methods for extreme organization by wrapping the cords up and then feeding the bundle through the tray.
Cord management trays are very convenient if you use a desk with adjustable capabilities. For example, if you sometimes lift your desk into a standing desk, your cord management tray will lift with your desk and your cords will stay organized.
Use a Cord Management Box
While you work in your home office, if you’re like me, your phone and tablet are always with you and virtually always needing to be charged, so it’s pretty common to have charging cables laying all over your desk so having a wire organizer would be incredibly helpful.
Unlike a cord management tray, a cord management box goes right on top of your desk. It functions similarly to the tray, though, because it keeps all of your items tidily contained.
- You can stuff your cords into a cord management box and never have to look at them again.
- To use a cord management box, you insert your power strip into the box and plug everything in as needed.
- The box has small holes where your cords can plug into different electronics.
If you have several devices to plug in, or if your cords are thick, a large cord management box is a great solution since it can hold a jumbo power strip and your thicker cords (such as your desktop’s power cord).
Smaller cord management boxes are excellent if you have lots of charging cords to plug in.
Cord management boxes can easily hold all of your charging cords and declutter your desk. These boxes will also hold your unused cords and chargers in place, out of sight, until you need them.
Use Cord Management Organizer Clips
Cord organizer clips are malleable rubber buttons that hold your cords in place. You can attach these adhesive clips on top of your desk, to the back of your desk, or to the wall behind your desk.
These clips keep your cords straight and even so you don’t have cords and cables loosely hanging from your electronics on your desk.
Use a Cord Management Channel or Sleeve
Cord channels and sleeves are tunnels through which your cords can travel sight unseen. Cord channels are solid and attach to a wall or floor while cord sleeves are soft and can attach to the back of your desk.
Simply feed your cords into the top of the cord channel or sleeve and they will come out the bottom to be plugged into your power strip. And you get the added benefit of not having to look at your cords anymore.
Cord channels are popular, not just for home office use, but also for home theater where TVs, Blu-ray players, and soundbars make for lots of cords.
Use a Desktop Cord Management Organizer
Attach a
Avery Multiuse Label (6738)
- Versatile in design, Avery removable labels are great ID labels for price tags, containers, drawers, shelves and more
- Uses a safe, removable adhesive that sticks firmly but removes cleanly from a variety of surfaces
cord organizer strip to the top of your desk where it won’t inconvenience you. You can place it behind your desktop or tower where it’s accessible, but not in the way.
Cord organizers are like the cable clips mentioned above, but they sit on top of your desk. Your cords simply slide into designated slots and stay put.
Mount Your Power Strip to Your Home Office Desk
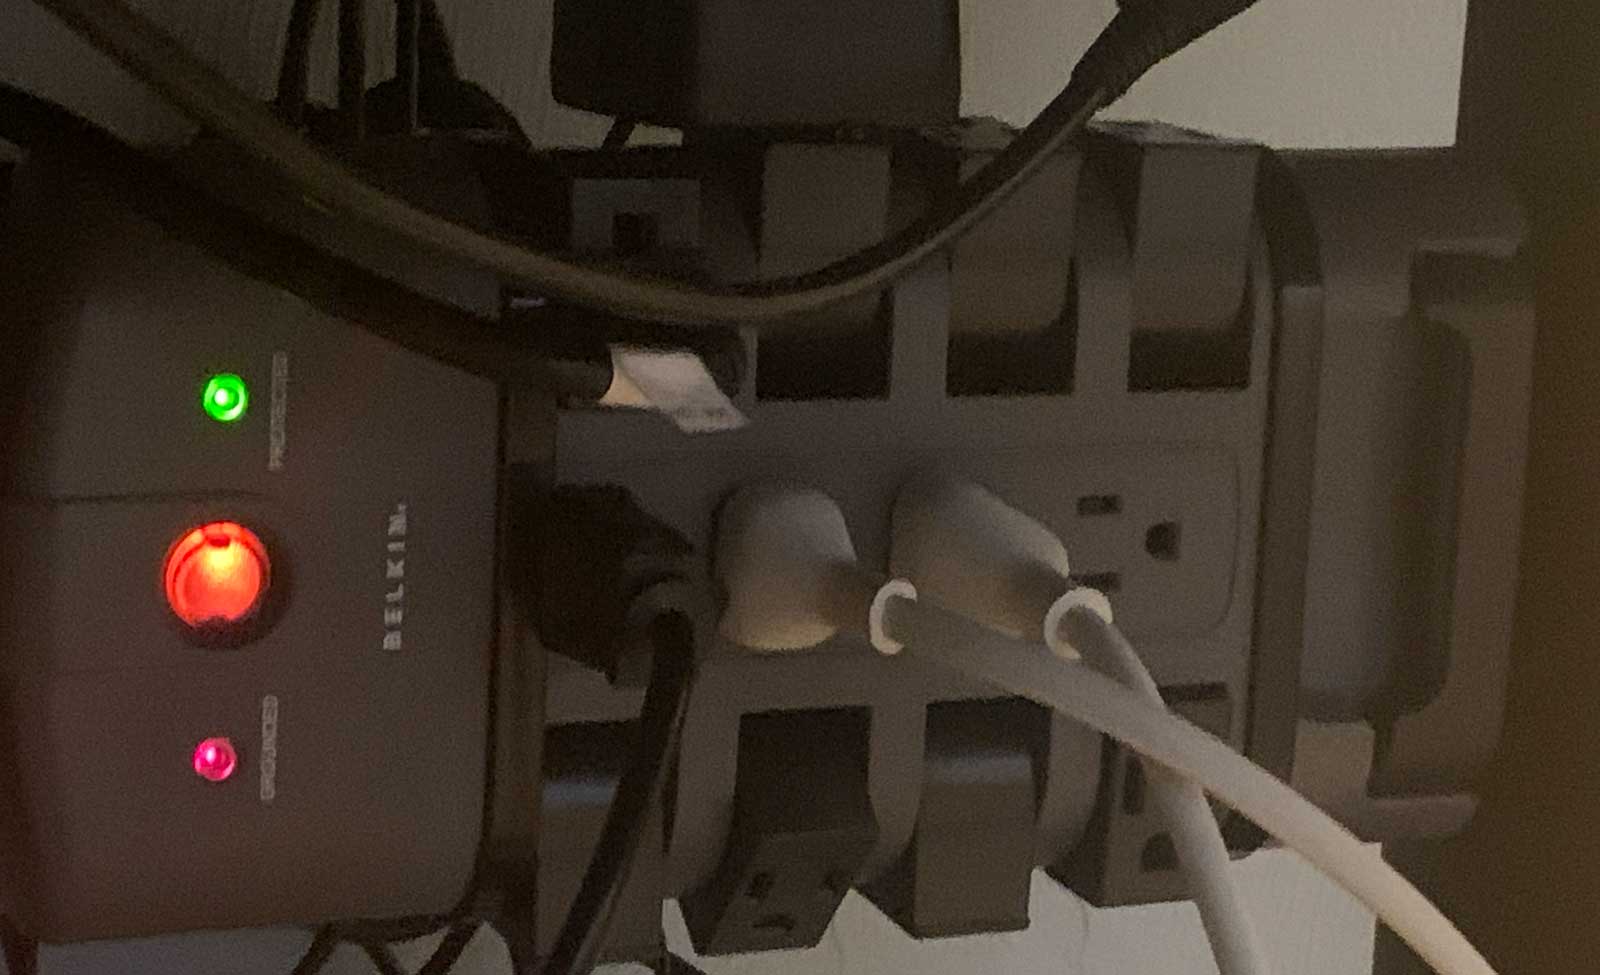
The closer your power strip is to your desk, the shorter your cords can be. So, mount your power strip for maximum cord management. How you mount your power strip is up to you. Just be sure to use a high-quality power strip that is designed to power all of your items and protect them from power surges.
Depending on how your desk is situated, you can mount the power strip in different ways.
- Mount the power strip to the back of your desk.
- Mount the power strip to the underside of your desk.
- Mount the power strip to the wall behind your desk.
When mounting the power strip to the back of your desk or to the wall behind your desk, consider your spatial constraints. Keep in mind that your desk will have to be far enough away from the wall so the cords have room to plug into the power strip.
Many power strips have holes on the back specifically for mounting. So, if you prefer to mount with screws, you have that option.
When mounting with screws, pay attention to where the holes on the power strip align. You don’t want to be drilling holes into the wall or your desk only to have the holes not line up. Additionally, if the surface of your desk is very thin, make sure you use screws that are short and won’t punch out the back.
If you don’t want to drill holes in your desk or wall, you can mount your power strip using double-sided adhesive.
Plug Everything Back into the Home Office Power Strip
Now that you have landed on a cord organization method that works best for your needs, it’s time to plug everything back into place. No matter which cord wrangling method you chose, you should have enough slack in each cord to plug it into the now-mounted power strip.
Your home office desk is meant to be a place where you can be productive. It can be quite hard to focus on your professional tasks when your desk is a wreck with untethered cables. Plus, an organized environment reduces stress. When you’re working from home, any added convenience and stress relief can do wonders.
Next Steps
Want to join others who are creating the most amazing home offices and get more tips, tricks and hacks on how to make your home office the best it can be?
Join my brand new free private Facebook group, Home Office Hacks to connect with other home office hackers to make your space the best!
