
Mechanical keyboards are great, but they also require maintenance.
After a while, dust, dirt and debris can build up and keys can get sticky or you can just tell that it doesn’t feel right – as if there is some sticky residue or something that’s causing issues with performance.
But you love your keyboard, and you’ve got it set up just the way you want and you don’t want to just replace it.
So how do you clean your mechanical keyboard?
There are several ways to clean a mechanical keyboard. You can use a micro-fiber cloth with gentle cleaning liquid to clean sticky keycaps. A mini vacuum is effective for removing dust from hard-to-reach areas. For advanced cleaning, you will need to take the keyboard apart.
I’ve tested this cleaning process myself, and it works perfectly every single time. It’s foolproof, and it takes less than 20 minutes from start to finish.
By the way – before we get too far into it here, if you want to get more great ideas for your gaming room or home office and want to connect with other home office hackers to make your space the best join my free private Facebook group, Battle Station Setup here.
How Do You Clean A Mechanical Keyboard?
Is your mechanical keyboard dirty?
Although mechanical keyboards are high-quality keyboards that usually last 10 years or more, cleaning them from time to time is ideal, especially if you want to extend their lifespan even further.
These mechanical keyboards are no strangers to dust, dirt, and grime– and these elements can contribute to electronic failure.
However, thoroughly cleaning a mechanical keyboard takes a few different steps so make sure you keep reading to make sure you get the job done right.
There are rules you need to follow to clean them without damaging the components.
Over time, your mechanical keyboard will accumulate dust, dirt, and grime.
Sometimes, you might even accidentally spill water or coffee on it.
But don’t worry.
Whether you want to clean the sticky keycaps or hard-to-reach areas– properly cleaning your keyboard is key to prolonging its lifespan and avoiding further damage.
Hot-Swappable Mechanical Keyboards
First off, it’s much easier to clean your mechanical keyboard if it’s a hot-swappable mechanical keyboard.
This means that essentially all the parts and pieces that make up your keyboard are interchangeable and removable.
If your keyboard isn’t hot-swappable, it’s still possible, but you’re going to have a lot harder time getting things clean under your mechanical switches, and some parts, you may just have to live with until you are ready to replace your keyboard for a new one.
How to Clean a Mechanical Keyboard
Now that you have all the materials ready, here are the two effective ways to clean your mechanical keyboard:
Preventative Maintenance
You should clean your keyboard regularly to prevent it from not functioning properly, especially if you eat on your work desk next to your keyboard. And the dust and food particles will partially fuse to the metal plate that supports the key switches. Here is an effective way to prevent particles from invading your mechanical keyboard inside and out.
Step 1: Unplug the Keyboard
Simply unplug your keyboard to avoid short-circuiting if it gets wet. If you are using a Bluetooth keyboard, make sure it is turned off.
Step 2: Turn the keyboard upside down
Using one hand, turn the keyboard upside down and tap it gently with the other hand to remove any loose debris like crumbs or dust.
Step 3: Use a mini vacuum cleaner
If you don’t have a mini vacuum cleaner for your mechanical keyboard, you can check out this portable wireless vacuum cleaner that works great for cleaning mechanical keyboards. You can use it directly on the keycaps and actuate the keys to get most of the dirt out. Do not use a can of compressed air, because it will only push the dust further into unreachable areas.
Step 4: Use a damp cloth to wipe the keycaps
You can gently wipe down the keys and the entire keyboard with a slightly damp microfiber cloth to get the dirt off the exterior.
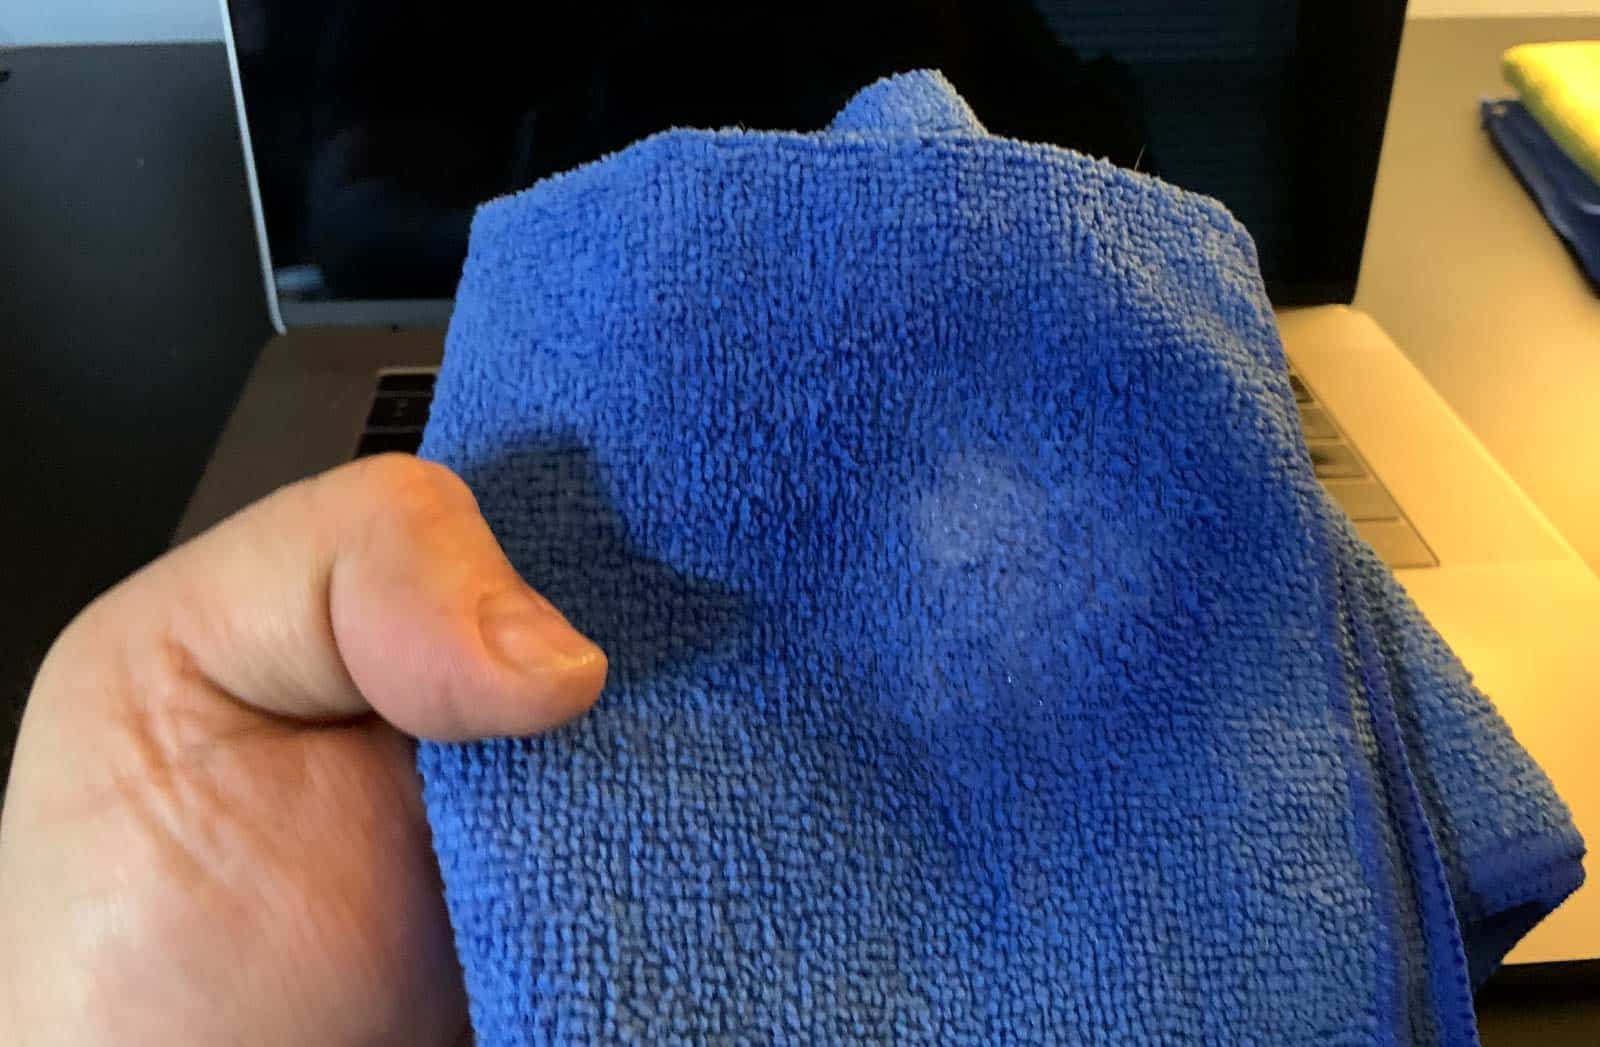
Step 5: Use a separate cloth to dry the keyboard
With a second microfiber cloth wipe the keyboard to dry it off. Do not use paper towels because they shed off particles that can scratch the surface and get stuck on the insides of your keyboard.
Advanced Cleaning

Suppose you accidentally spilled something or haven’t cleaned your keyboard for a long time. In that case, you might need to do advanced cleaning, which involves taking the keyboard apart and cleaning the components individually. Here is how:
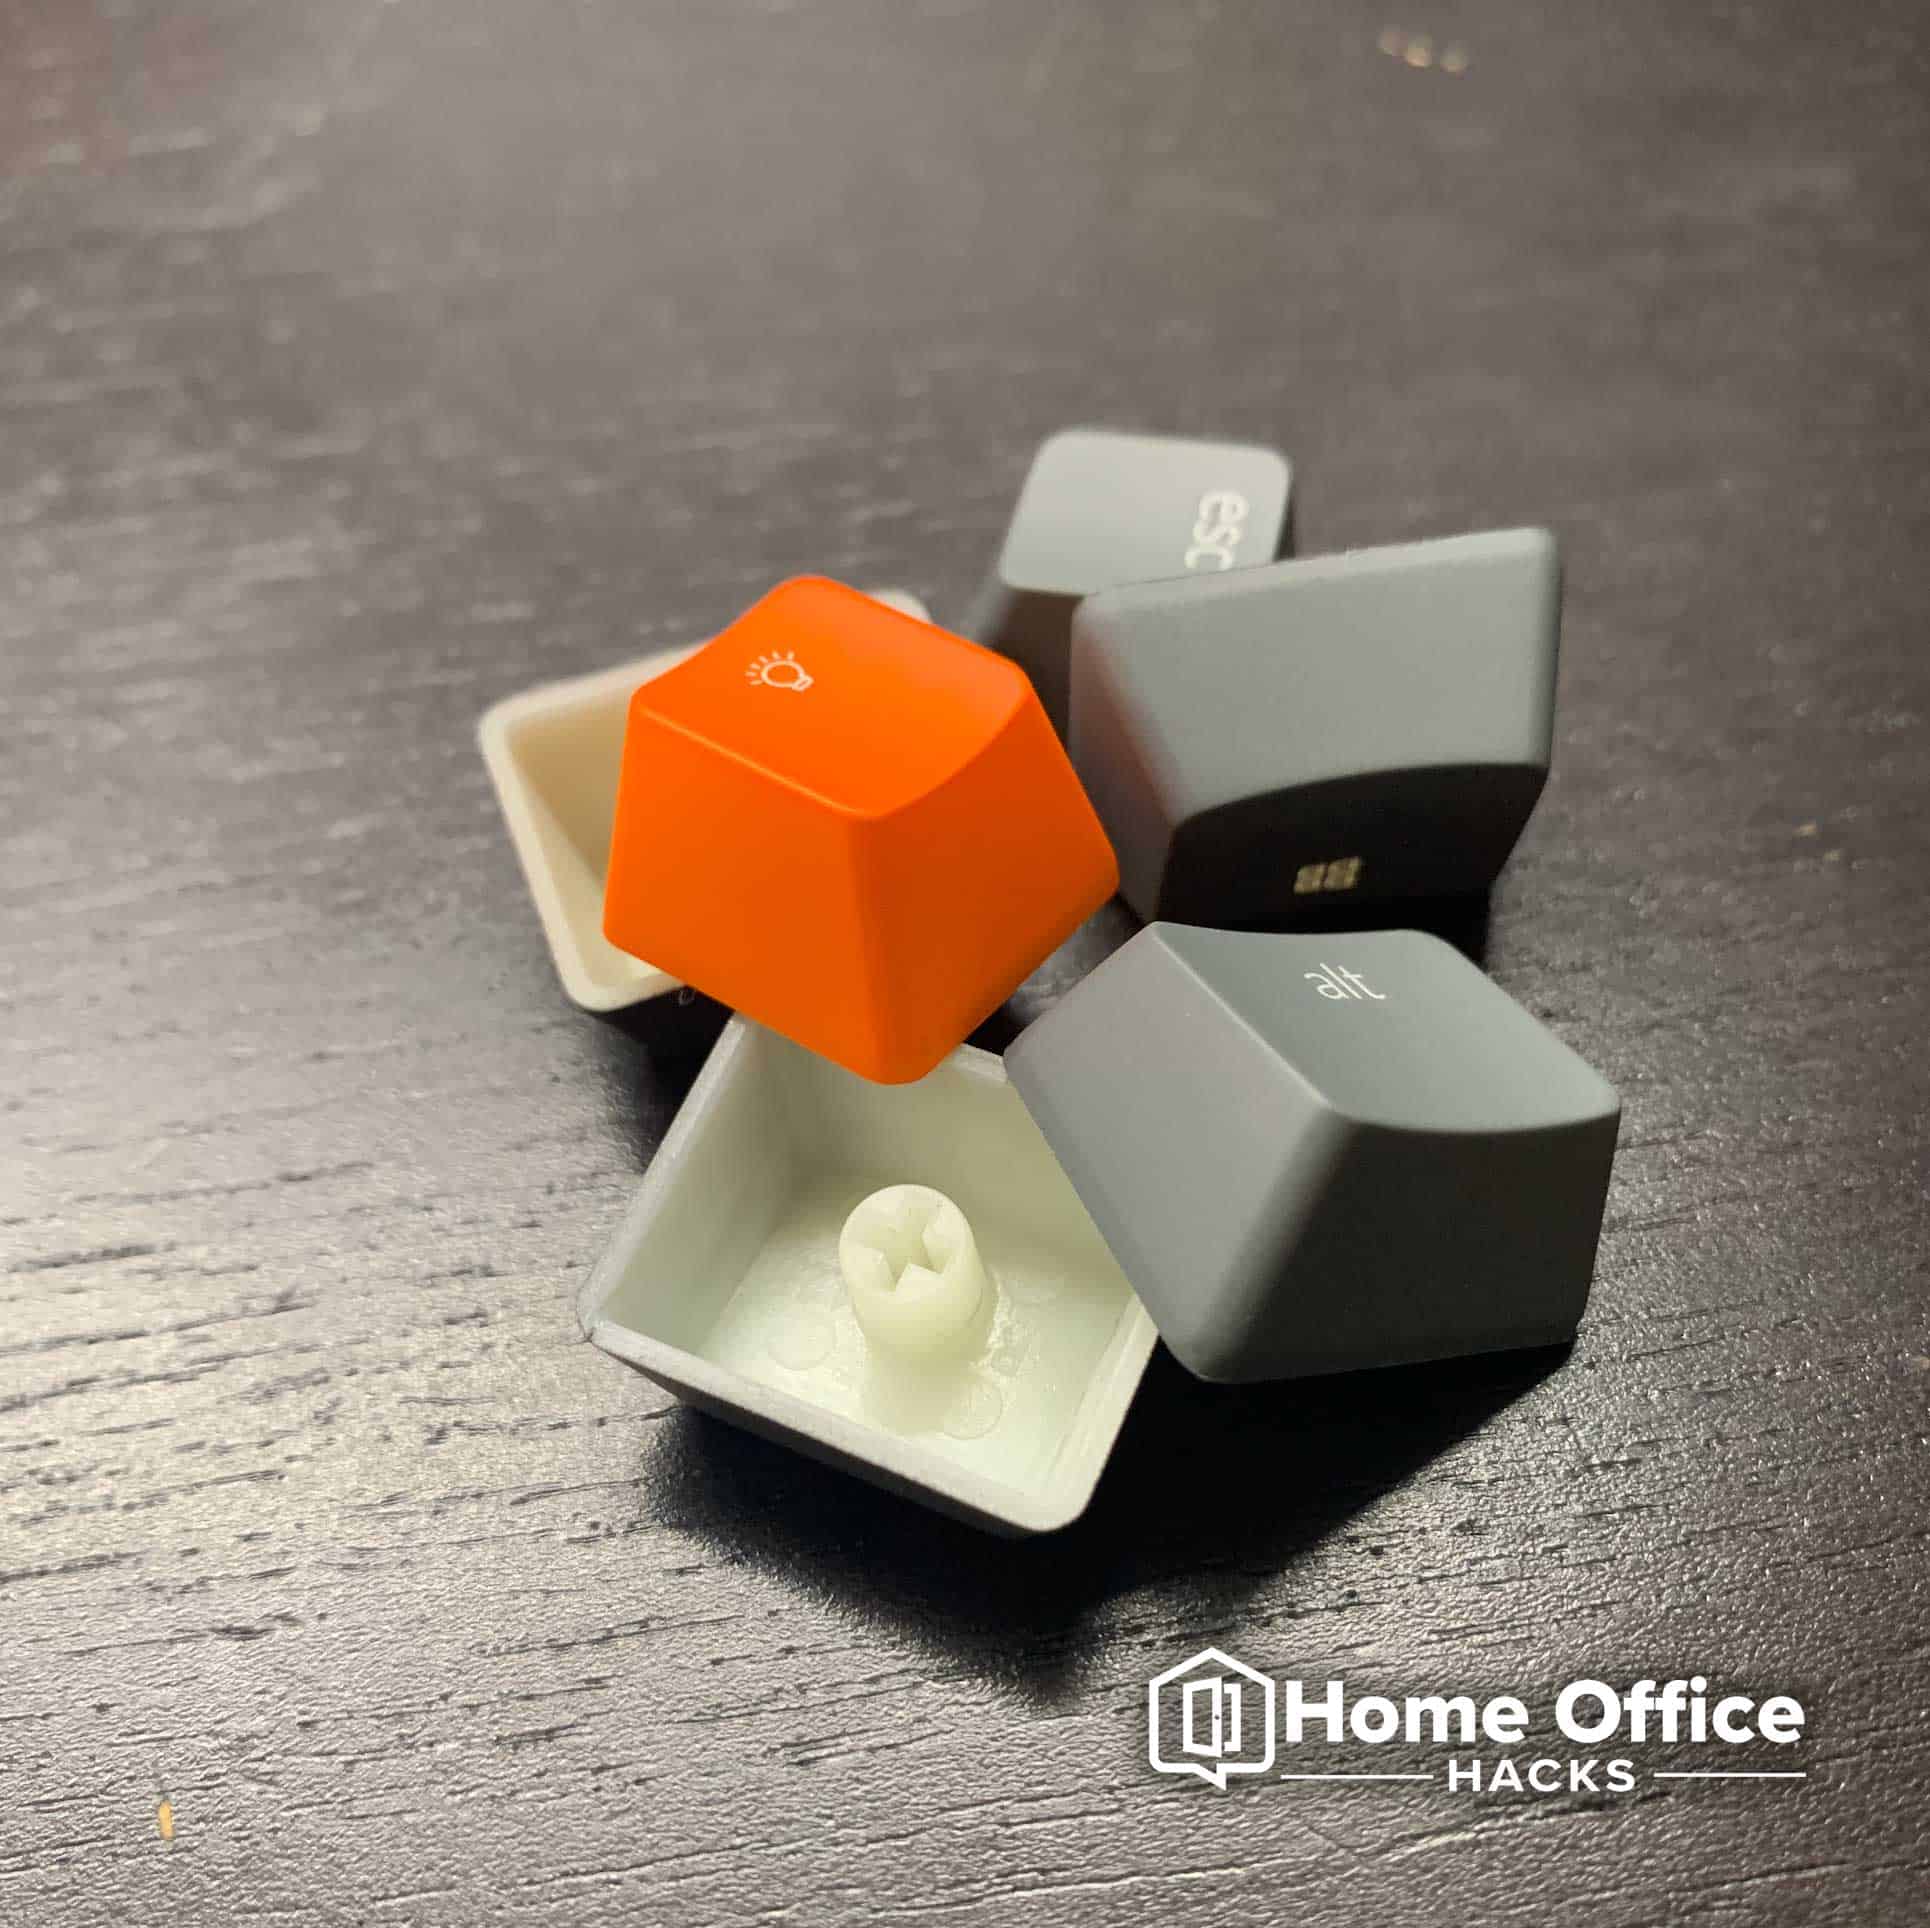
Step 1: Unplug the keyboard and use a keycap puller to remove the keycaps
Gently pull the keycaps off with a keycap puller and set them aside to wash them later. You can check this keycap puller out if you don’t have one yet.
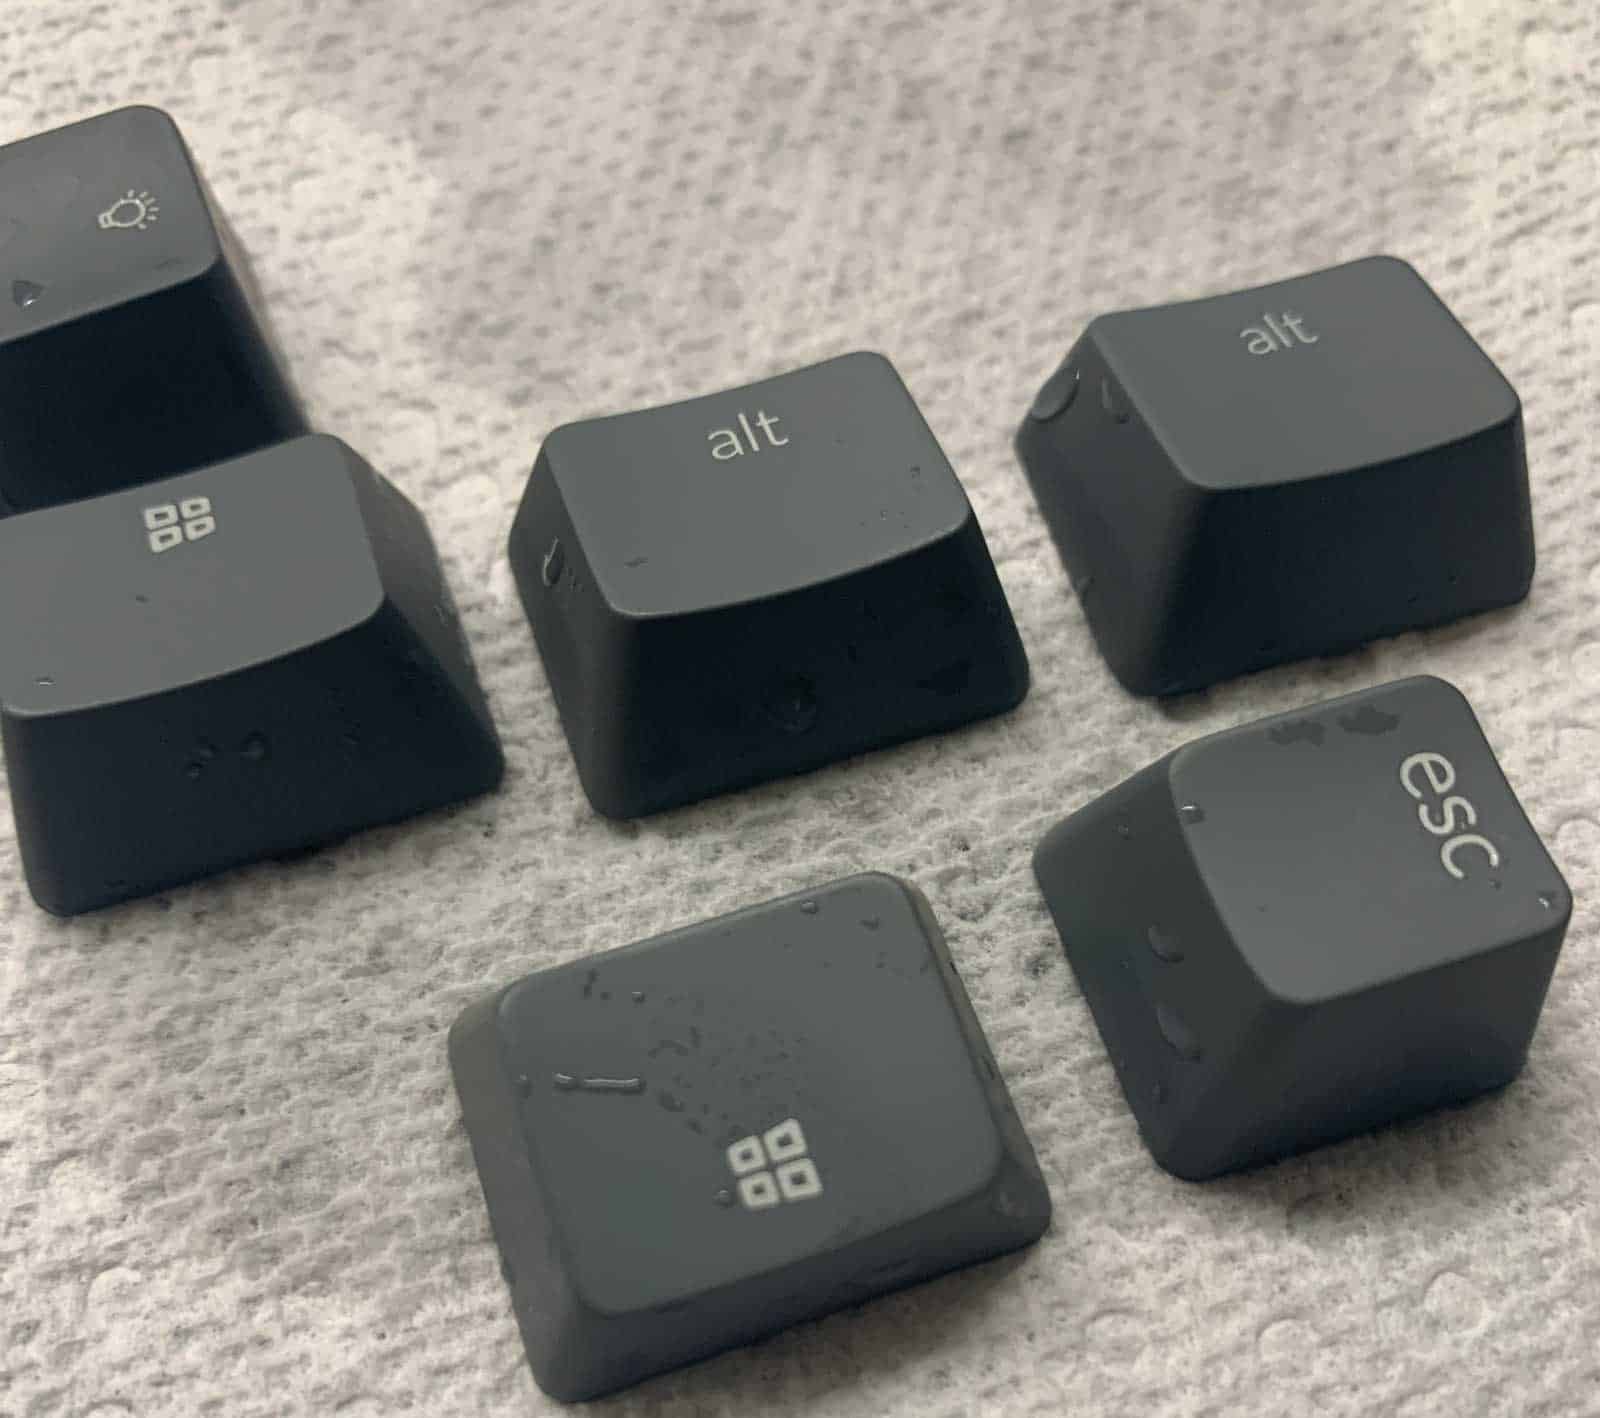
Step 2: Wash keycaps with dish soap
You can put the keycaps into a container, soak them for at least six hours, and rinse them thoroughly. Note that the keycaps need to be 100% dry before putting them back.
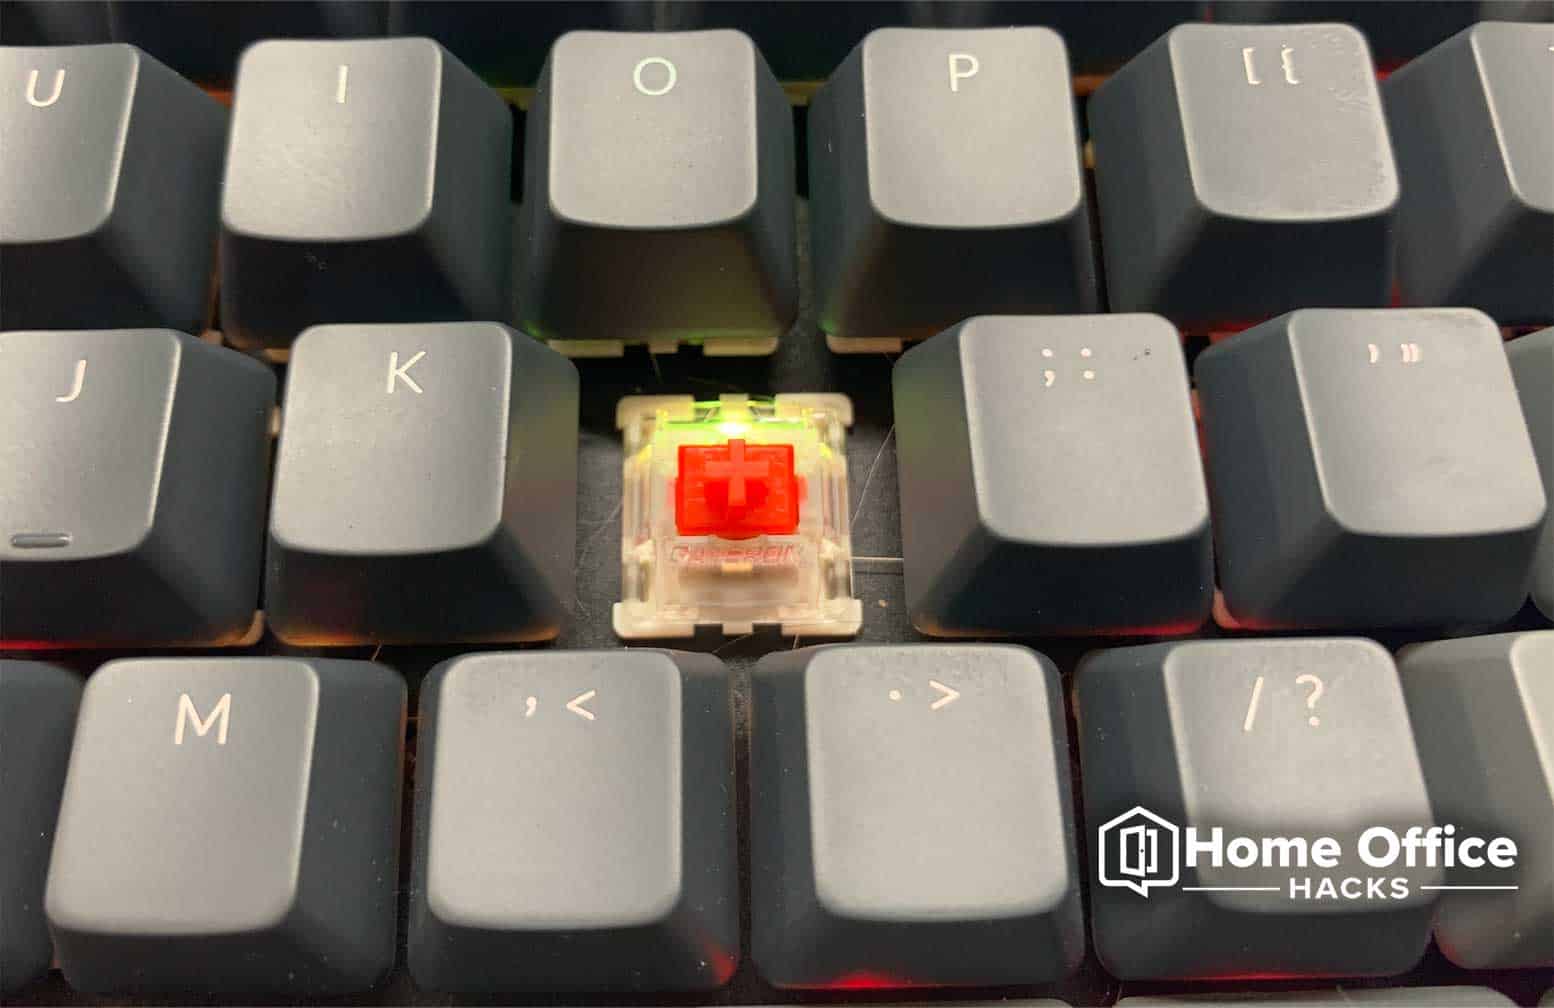
Step 3: Use a vacuum to clean the keyboard switches
Without removing the switches, you can use a mini vacuum to clean the keyboard switches. You can also use q-tips with a tiny amount of isopropyl alcohol to remove grime buildup, if there is any.
Step 4: Wipe down the keyboard with a damp microfiber cloth
Use the microfiber cloth to wipe the key switches, and use a separate cloth to dry. Make sure you do not use a damp cloth on exposed electrical components.
Step 5: Replace all keycaps
Once all the keycaps are dry, you can now replace them on the keyboard.
Step 6: Use lube for the switches (Optional)
If you have hot-swappable key switches, you can take this time to lube them for smoother typing or gaming.
How Do You Clean The Keycaps?
I’ve found that using hot soapy water and simple scrub brush does the trick when it comes to cleaning your keycaps.
You don’t want a brush that’s too abrasive though.
Fill a bowl with hot water and add some dishwashing soap to it.
Then you can add your keycaps to the bowl and make sure they’re submerged completely in the soapy water.
Let them sit and soak. Then you can gently scrub with a dishwashing brush to remove any stubborn debris.
If you’ve got stuff that’s really stuck that you cannot reach with your brush, using cotton swabs or pipe cleaners is always a good idea.
Once you’ve cleaned the keycaps a great way to get them rinsed off completely is to put them all in a simple pasta strainer and rinse them off thoroughly.
After rinsing them, dry them off with paper towels. Set them all out, keycap side up, and allow them to finish drying before replacing them on your keyboard.
How To Handle Spills On Your Mechanical Keyboard
Spills happen.
It’s just the reality of home office life these days.
When you spill something on your keyboard, if you’re connected via a USB cable, unplug it immediately.
Don’t wait until later because you might damage the keyboard by leaving it plugged in. If you spilled only water, then you can simply turn the keyboard upside down over a towel and let the liquid drain out.
After that, use a keycap pull-out tool to remove your keycaps and key switches and clean the keyboard.
If you spilled anything that’s a sugary drink like Mountain Dew or Coke, you need to remove remove all your keycaps and all your switches from the board, and clean all the internal components thoroughly before plugging your keyboard back in.
Why do I need to clean my mechanical keyboard?
One of the primary reasons you need to clean a mechanical keyboard is to prevent damage from the accumulated dust and grime.
If you want your mechanical keyboard to function properly for a long time, doing preventative and deferred cleaning every once in a while is essential.
It is hard to avoid attracting dust on your game or workstation, and mechanical keyboards have small spaces where dust and dirt can get into. Over time, the dirt stuck into these areas will inevitably damage the electronic components of your keyboard, which will affect its ability to function properly if you don’t clean it.
Also, it is easy for us to forget to sanitize or wash our hands before using our keyboards, making the keycaps sticky and dirty– especially if your keyboard is equipped with light-colored keycaps.
Another reason for cleaning your keyboard is when you accidentally spill liquid on it. It might not affect the keyboard’s function instantly– but the spilled liquid will build up and turn into grime, especially if you spilled soda or coffee.
What materials do I need to clean my mechanical keyboard?
If you are about to clean your mechanical keyboard, make sure you have the following materials:
- Keycap puller
- 2 Micro-fiber cloths
- Gentle liquid cleaner
- Mini vacuum
- Q-tips
- Keyboard switch lube (optional)
How Often Should I Clean My Mechanical Keyboard?
For preventative cleaning, make sure you do it at least once a month– depending on the environment and how often you eat food around the keyboard or desk.
This means wipe everything down real good using a damp microfiber cloth, dampened with warm water, or a paper towel.
As for deep cleaning, once a year should be enough. And in reality, you may only need to do this as needed.
But it doesn’t hurt to get your gear clean annually using the steps we’ve described here in this post.
Can You Wash Your Mechanical Keyboard?
You cannot wash the entire mechanical keyboard with water, but you can wipe it with a damp microfiber towel. If you need to wash the keycaps, make sure you pull them out first and make sure they are completely dry before replacing them.
Next Steps
Join others who are creating the most amazing home offices and get more tips, tricks and hacks on how to make your home office the best it can be!
Join my brand new free private Facebook group Battle Station Setup to connect with other home office hackers to make your space the best!